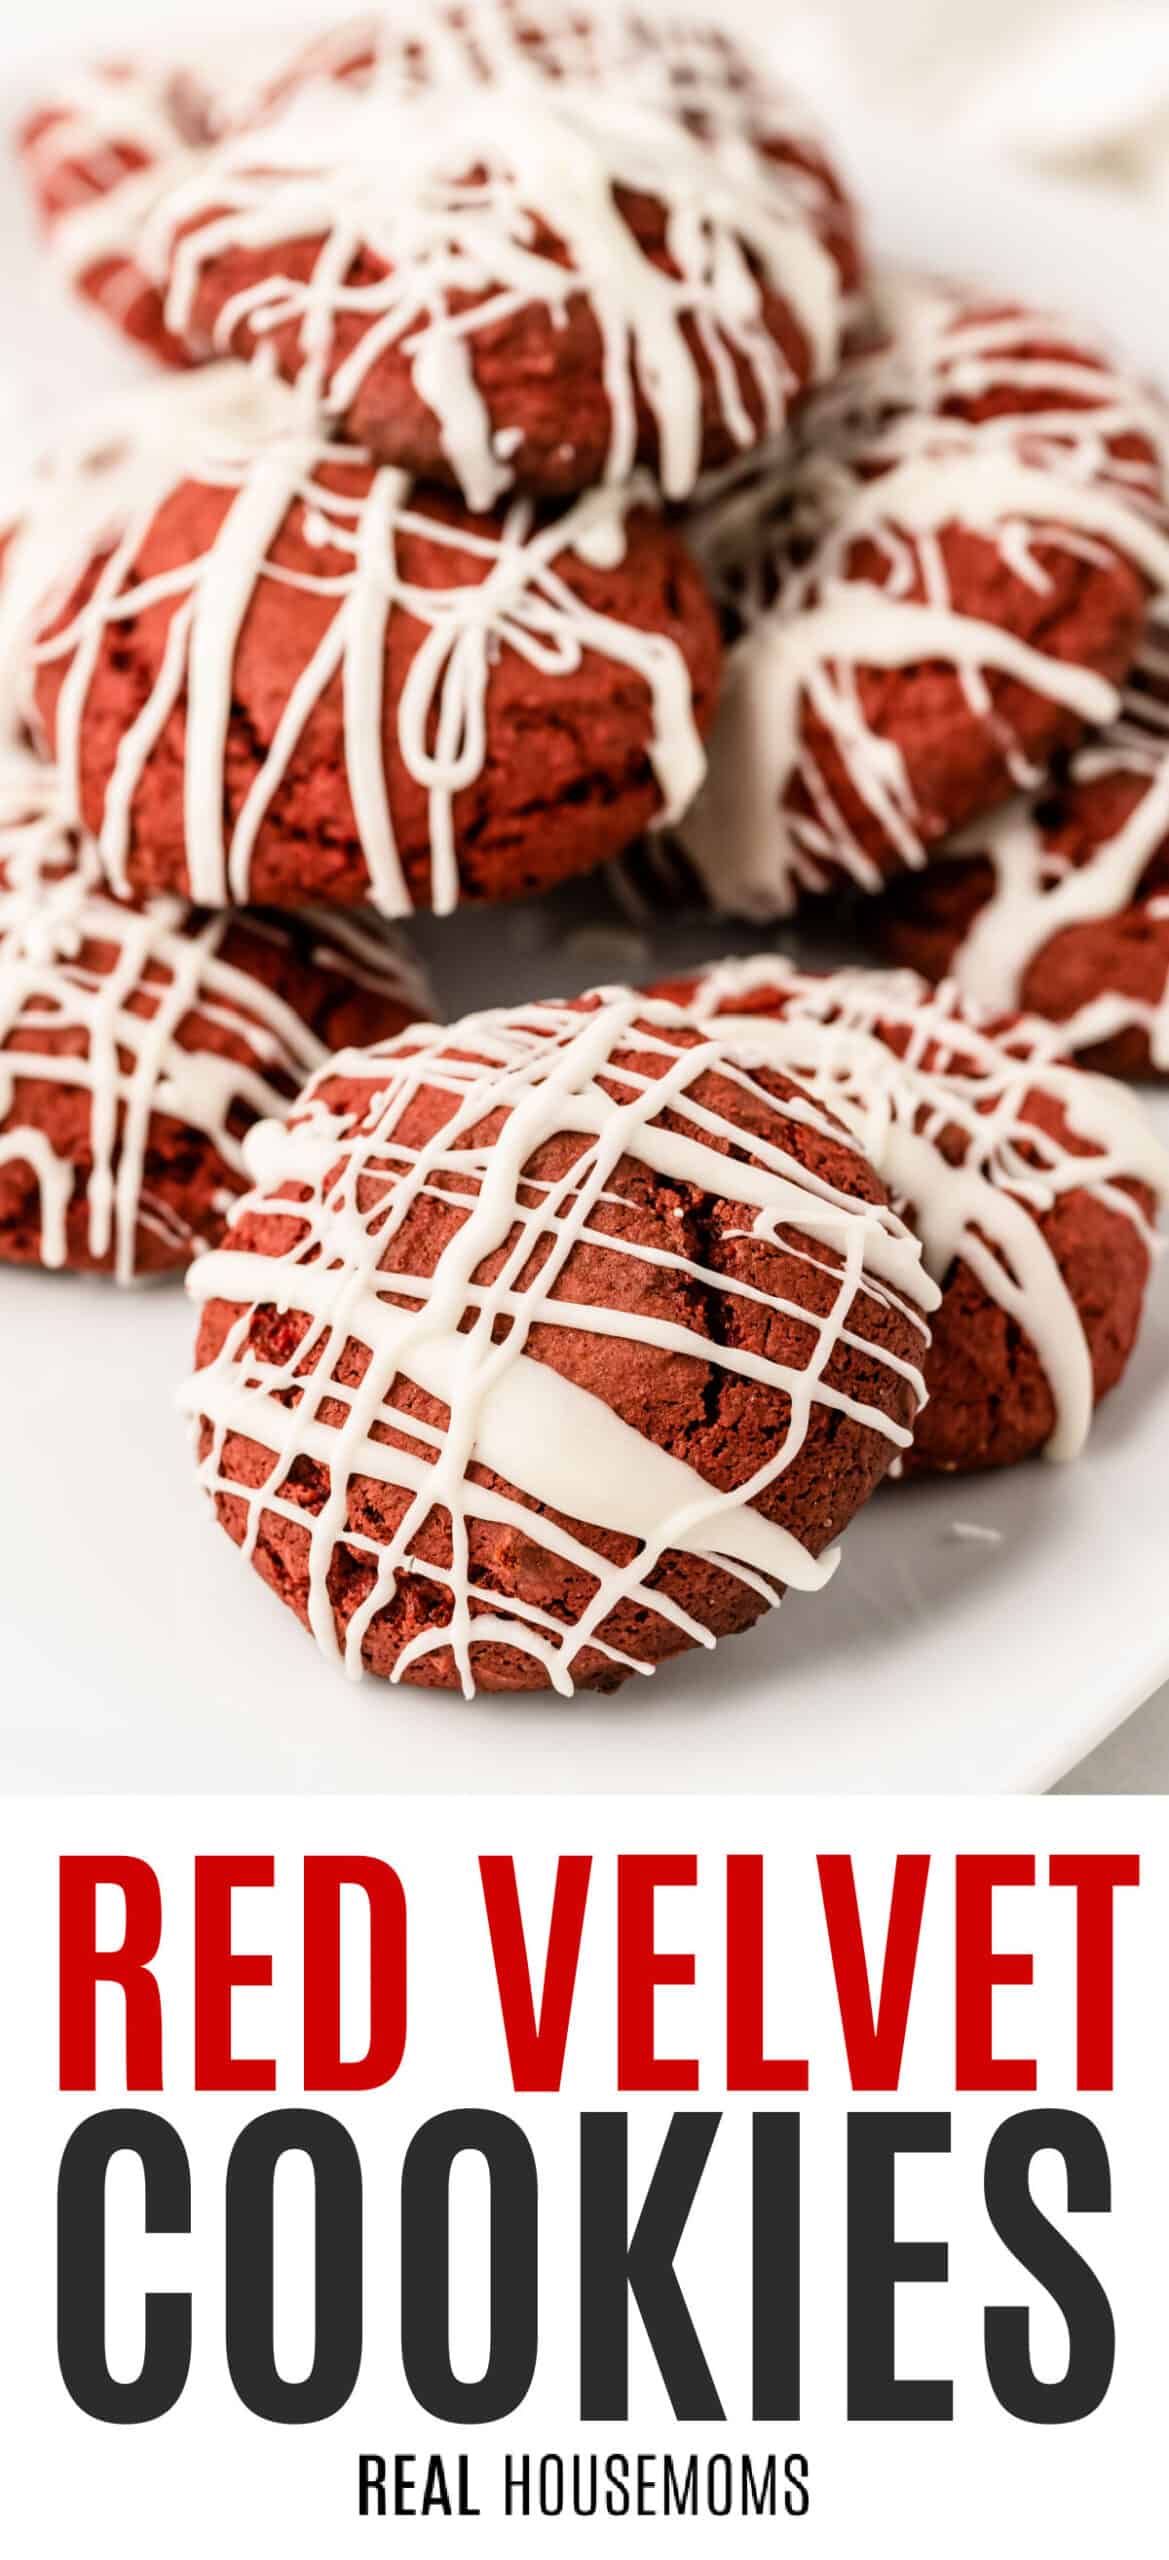
Recipe for Red Velvet Cookies With Cream Cheese Frosting

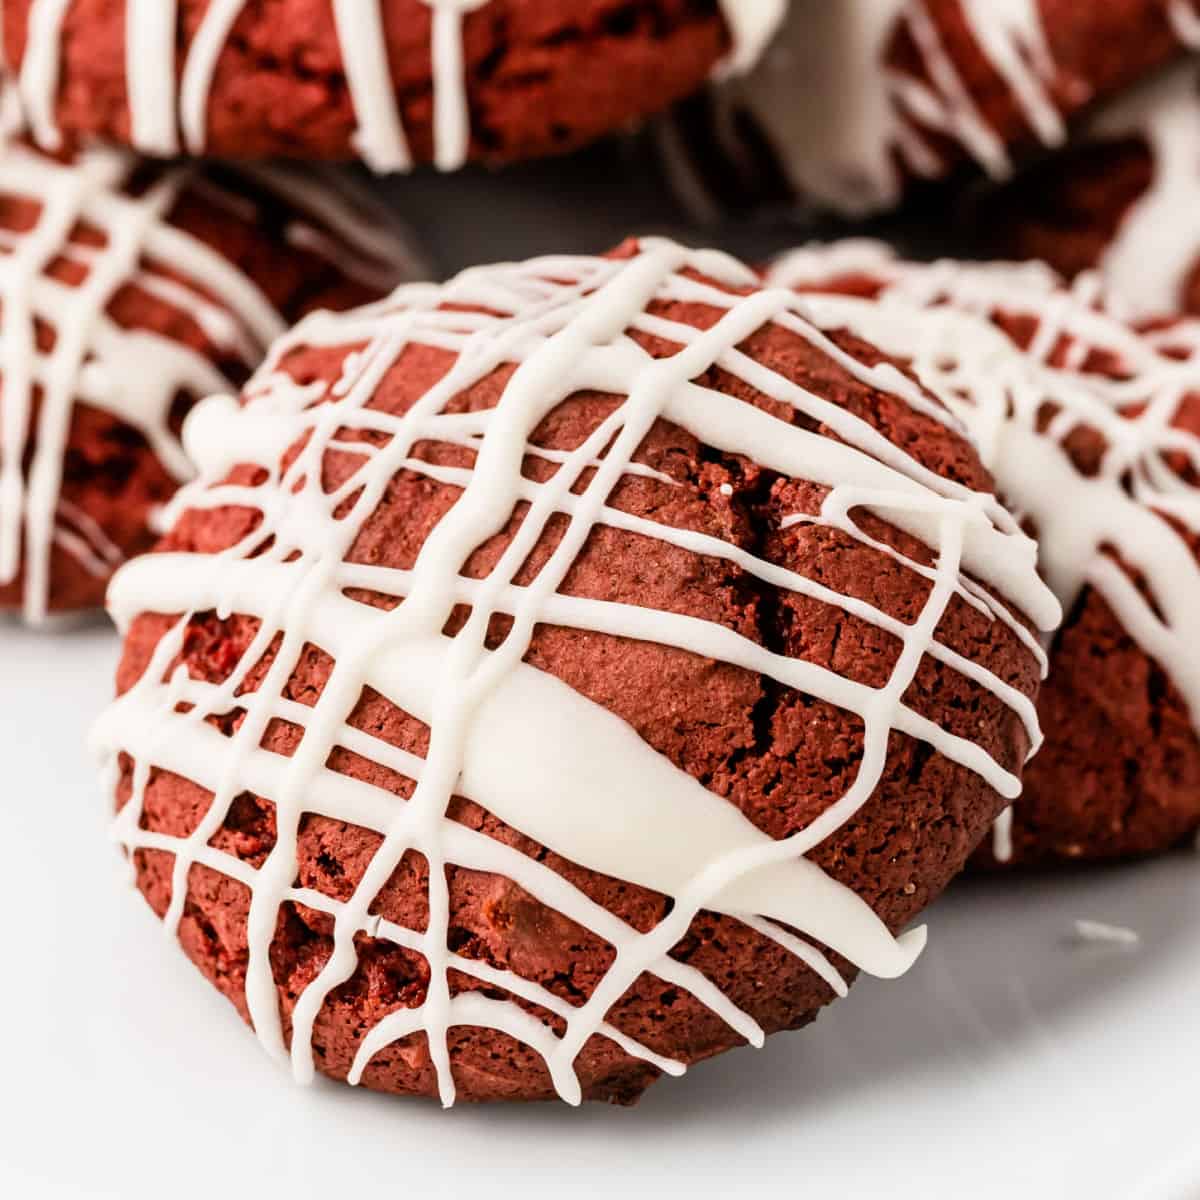
If you like red velvet cake, you'll LOVE these Red Velvet Cookies! They're so good you'll want to make a batch every day until Christmas!
The holidays are hectic enough – between decorating, shopping, wrapping, and parties, we don't need to feel pressured to make elaborate, fancy dessert recipes. Sometimes you just don't have the time (or energy) to bake like that! That's why these red velvet cookies are the perfect holiday treat.
They're delicious, festive, look super fancy (but aren't), and use store-bought cake mix to save time! When I'm craving red velvet flavor but I'm not in a rush, I love to make my own red velvet mix for these Red Velvet Brownies too.
But, around the holidays I always go for easy recipes like red velvet cake mix cookies. You will love this dessert shortcut recipe because the cookies taste great and you don't spend all day baking!
RED VELVET COOKIES
Like this recipe? Pin it to your DESSERT pinboard!
Follow Real Housemoms on Pinterest
Every year my extended family gets together and has a holiday cookie swap. It's a tradition I've loved for years. Everyone makes a few dozen batches of a new cookie recipe they've been wanting to try out AND an old favorite recipe.
That way, you know you're leaving the swap with some tried and true goodies and not just a tray full of Pinterest fails. (Yes, I've definitely been guilty of a few Pinterest fails in my time.)
My family spendsmonths trying to figure out what recipes we'll all make. It's become a fun tradition to see who can come up with the yummiest (orwhackiest)new cookies to try! This year I knew I wanted to go with a festive, yet delicious cookie that would wow everyone's tastebuds. This red velvet cookies recipe is EXACTLY what I needed.
Red velvet cookie dough issemi-homemade (you use a red velvet cake mix as your base… yes, that's right, a CAKE mix!) so it is super easy, super quick, and the ideal cookie recipe for busy moms on the go! The bright red color of the cookies is perfect for a special holiday treat and it will be the centerpiece of my cookie tray.
What does Red Velvet Taste Like?
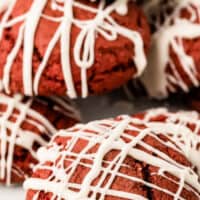
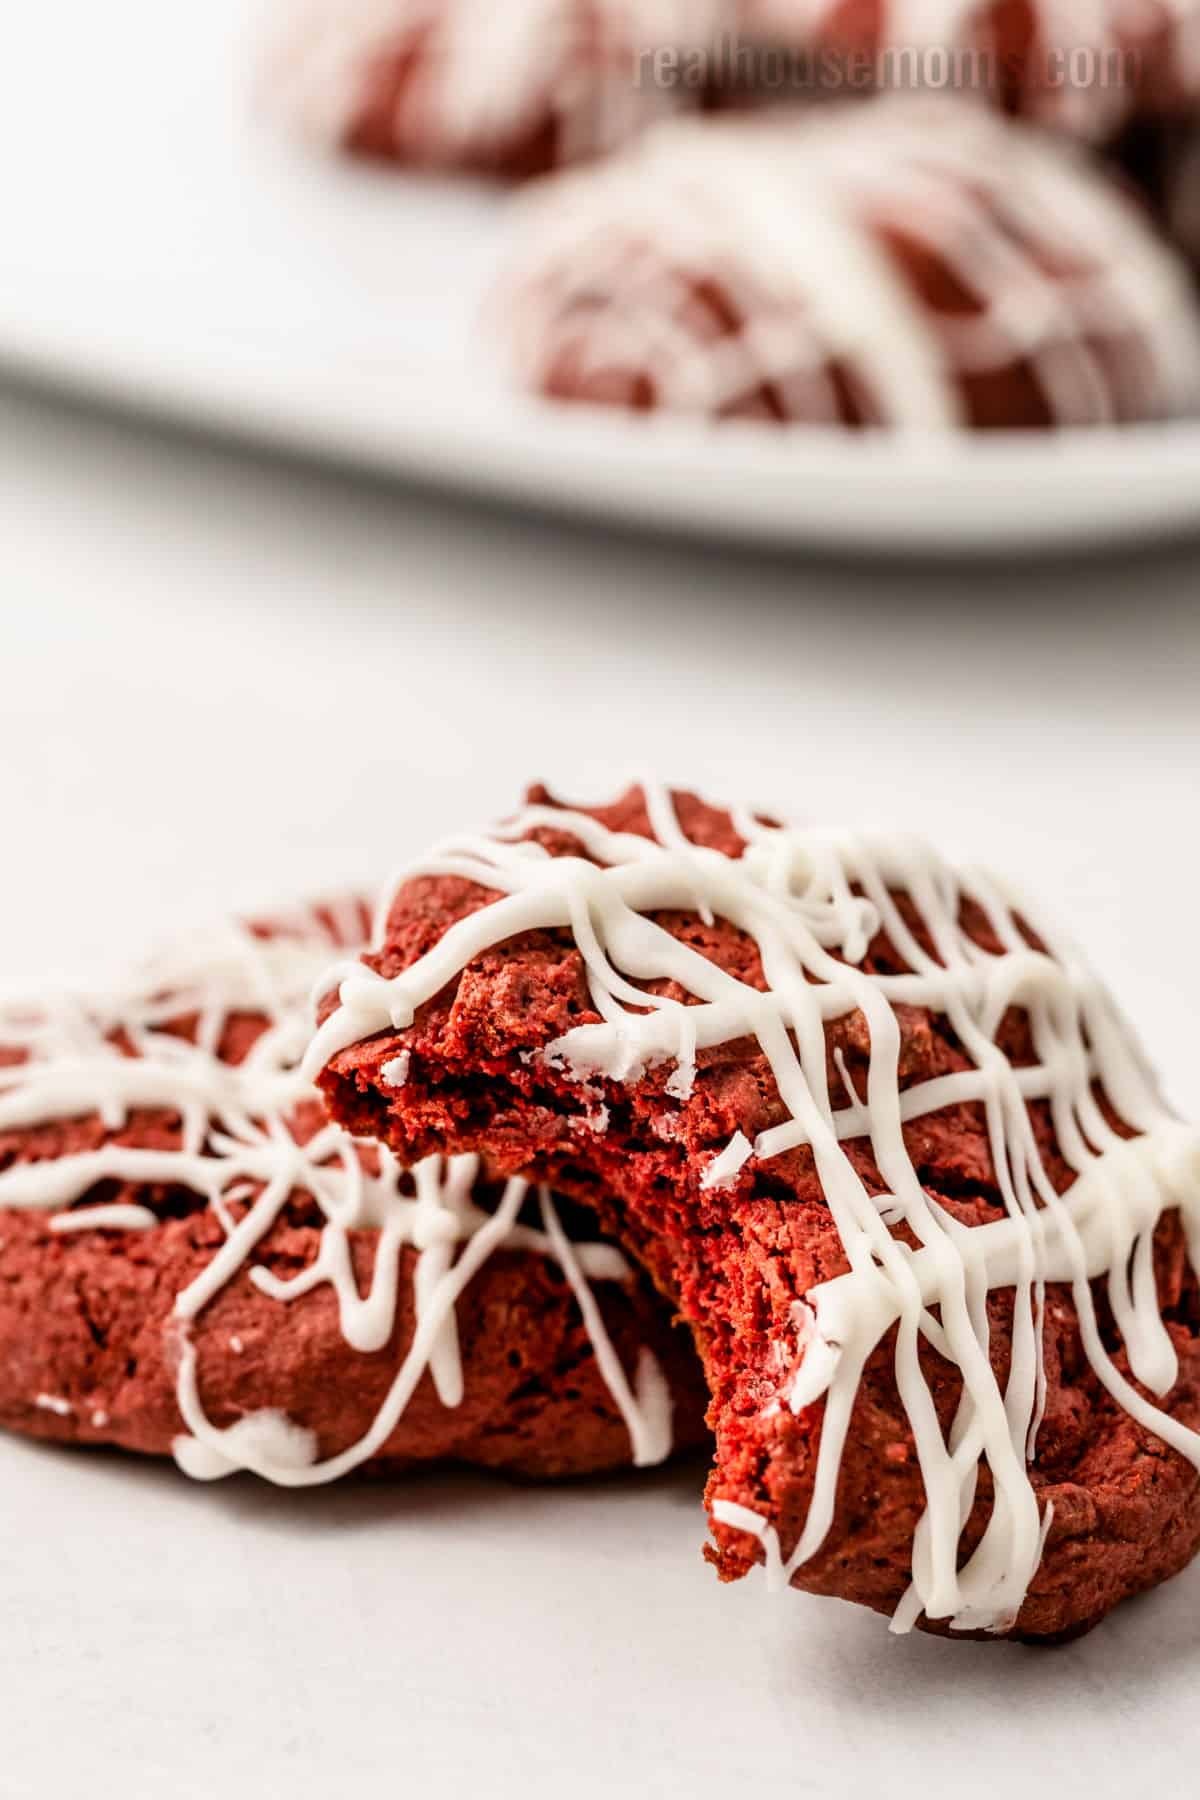
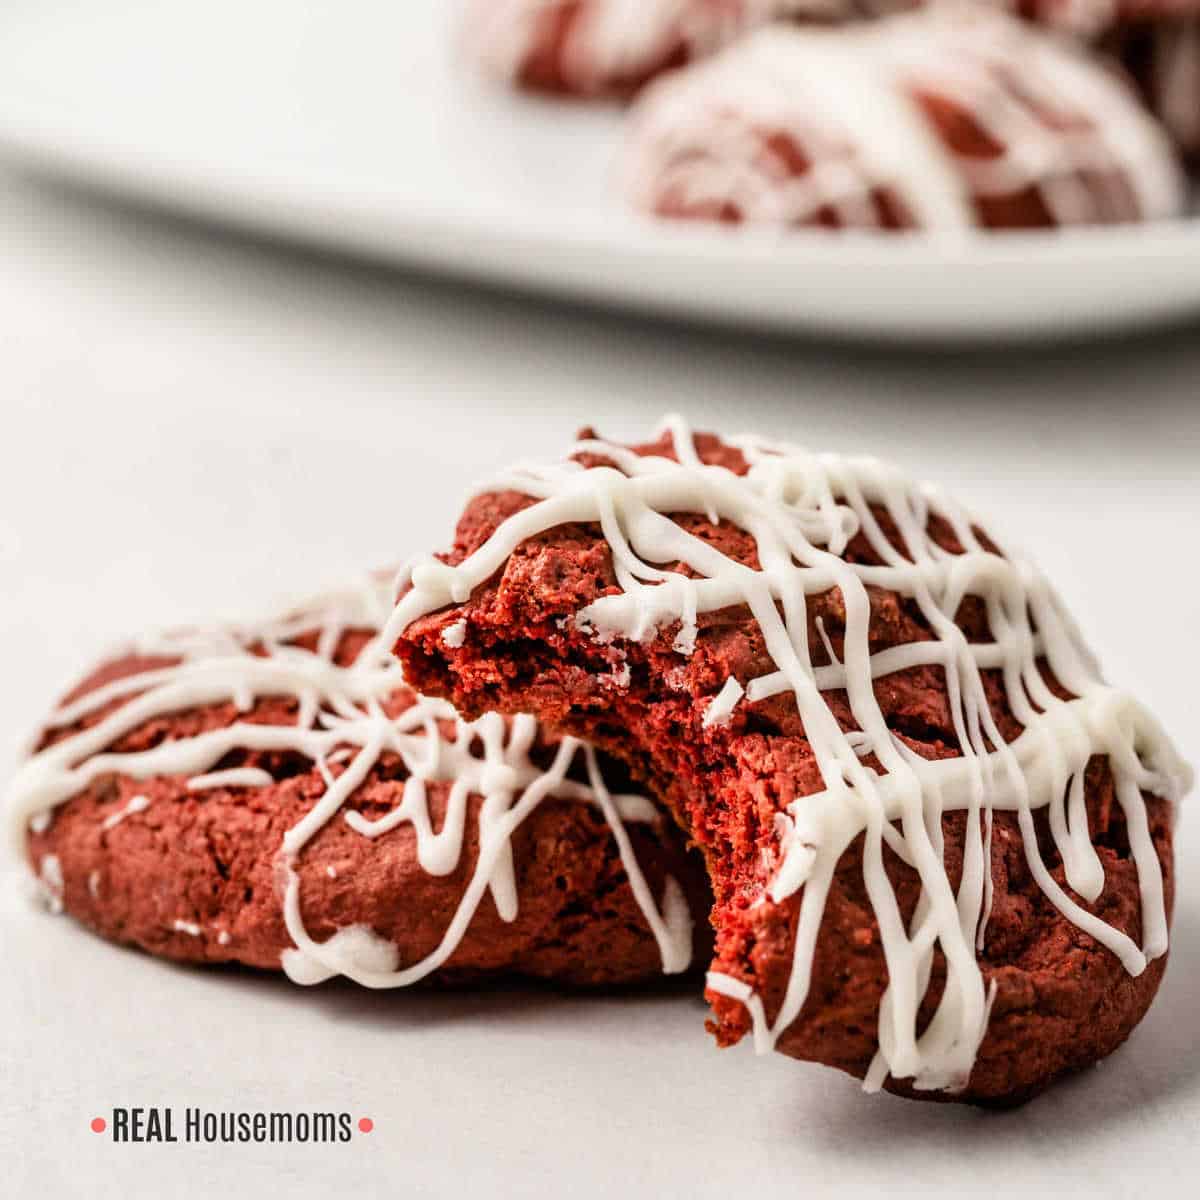
While the deep red color of red velvet cookies might throw you off, they are in fact,chocolate in flavor (they are not cherry cookies as my son originally thought!). Interestingly enough, red velvet originally got a slightly red coloring from a chemical reaction between the cocoa powder and the buttermilk used in the recipe. Today, however, that beautiful bright red color is achieved through plenty of red food coloring.
The most defining feature of a red velvet dessert (aside from the red color!) is that in order to betrulyconsidered a red velvet recipe, the dessert needs to have cream cheese frosting. This is my favorite part of anything red velvet, especially red velvet cake mix cookies!
Red Velvet Cake Mix Cookie Ingredients
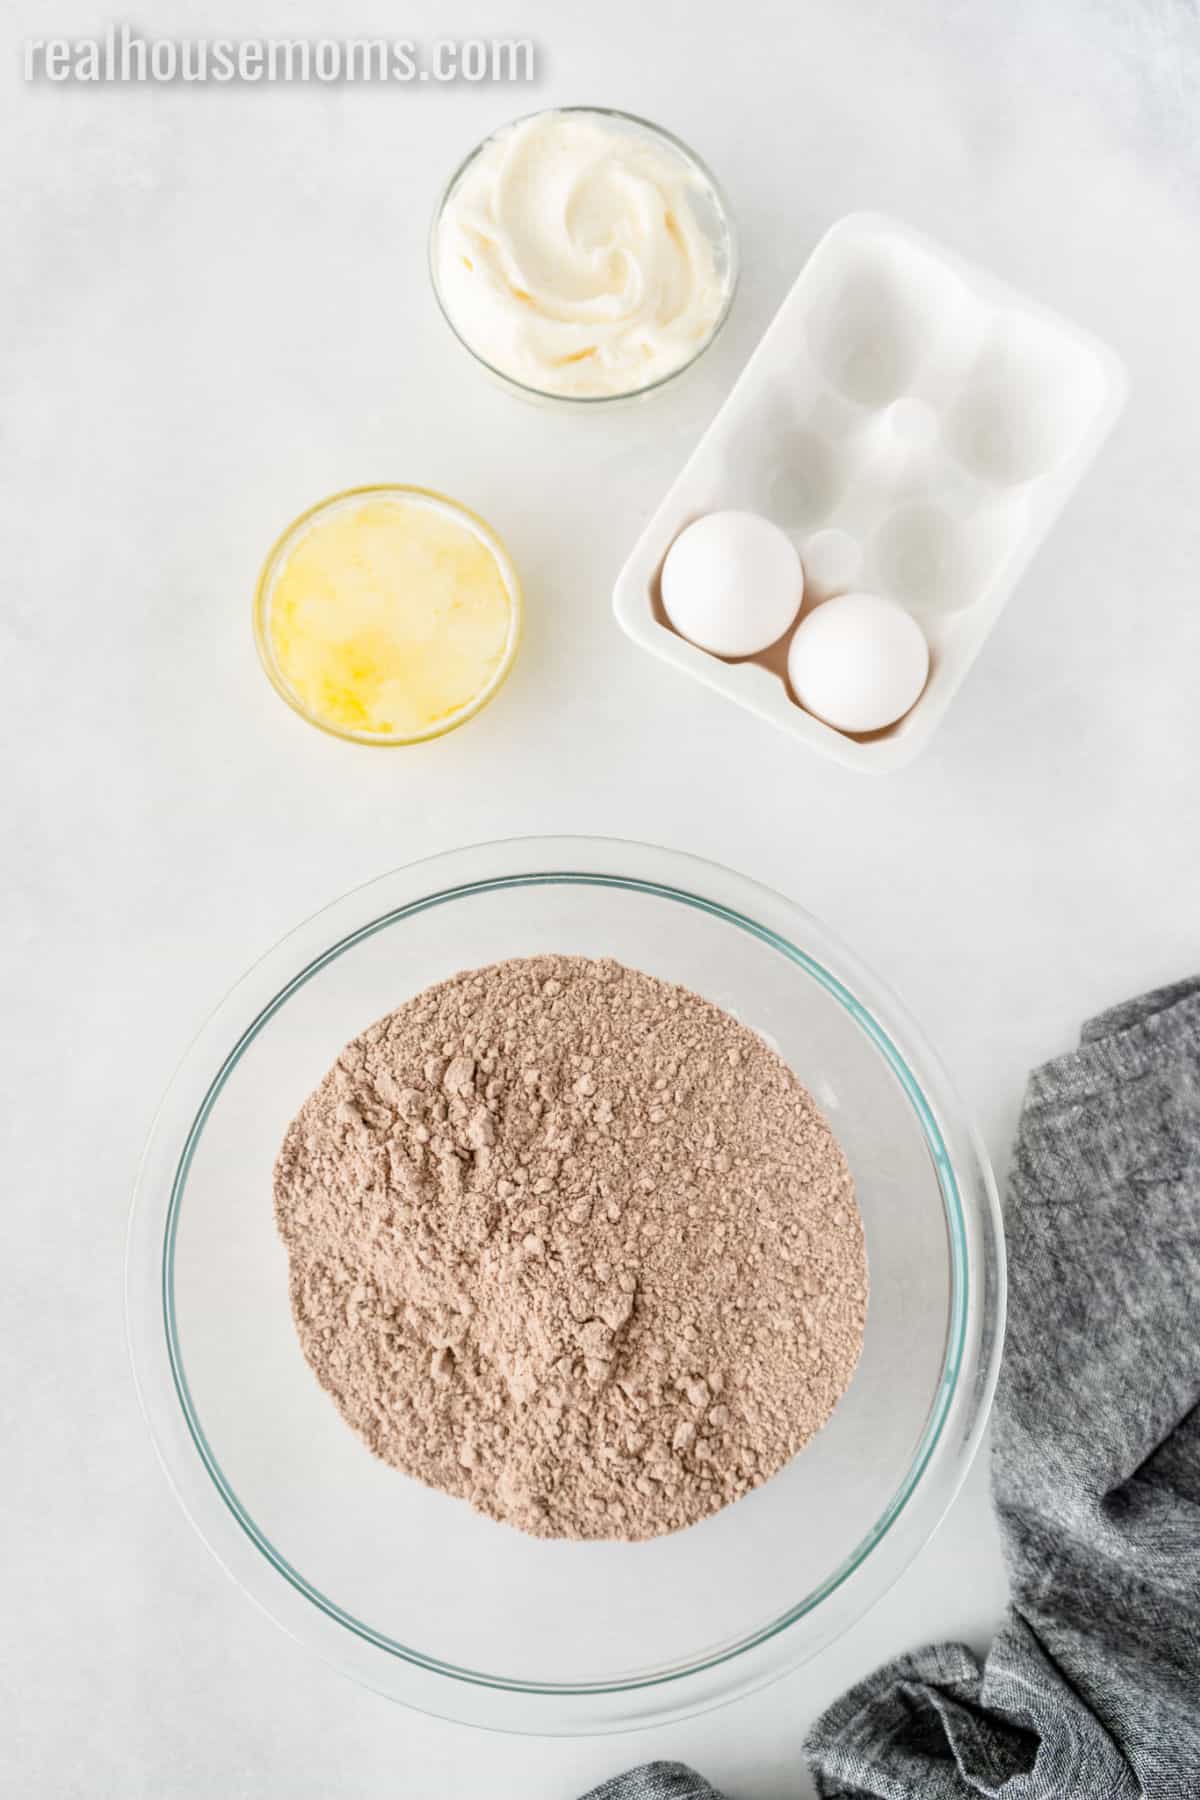
Like I said earlier, this recipe couldn't be any easier. You need eggs, butter, and the rest you can buy at the store pre-made!
Red Velvet Cake Mix – it doesn't matter the brand, all that matters is that you grab yourself a box of red velvet cake mix and follow the instructions below! You'll be on your way to eating red velvet cookies with cream cheese inminutes!
Cream Cheese Frosting – now here is where you can decide what type of baker you're going to be. If you're like me (and always seem to be on a time crunch), grab a tub of pre-made cream cheese frosting at the store when you pick up your red velvet cake mix.
If you've got a little bit of extra time on your hands and prefer things to be homemade, you can make your cream cheese frosting (here is the BEST cream cheese frosting ever…). Either way, your red velvet cake mix cookies will bedelicious!
How to Make Red Velvet Cookies
This red velvet cookie recipe is prepped and baked in under 15 minutes, probably the fastest cookie recipe ever! Make sure you allow some time for your cookies to cool though, you can't frost them until they've cooled down. Nobody wants a melted cream cheese mess on their red velvet cookies!
- Start by preheating your oven to 375 degrees F. Next, line 2 baking sheets with silicone baking sheets or parchment paper (these cookies can be very sticky… putting them straight on the cookie sheet will result in amess that nobody wants to deal with!)
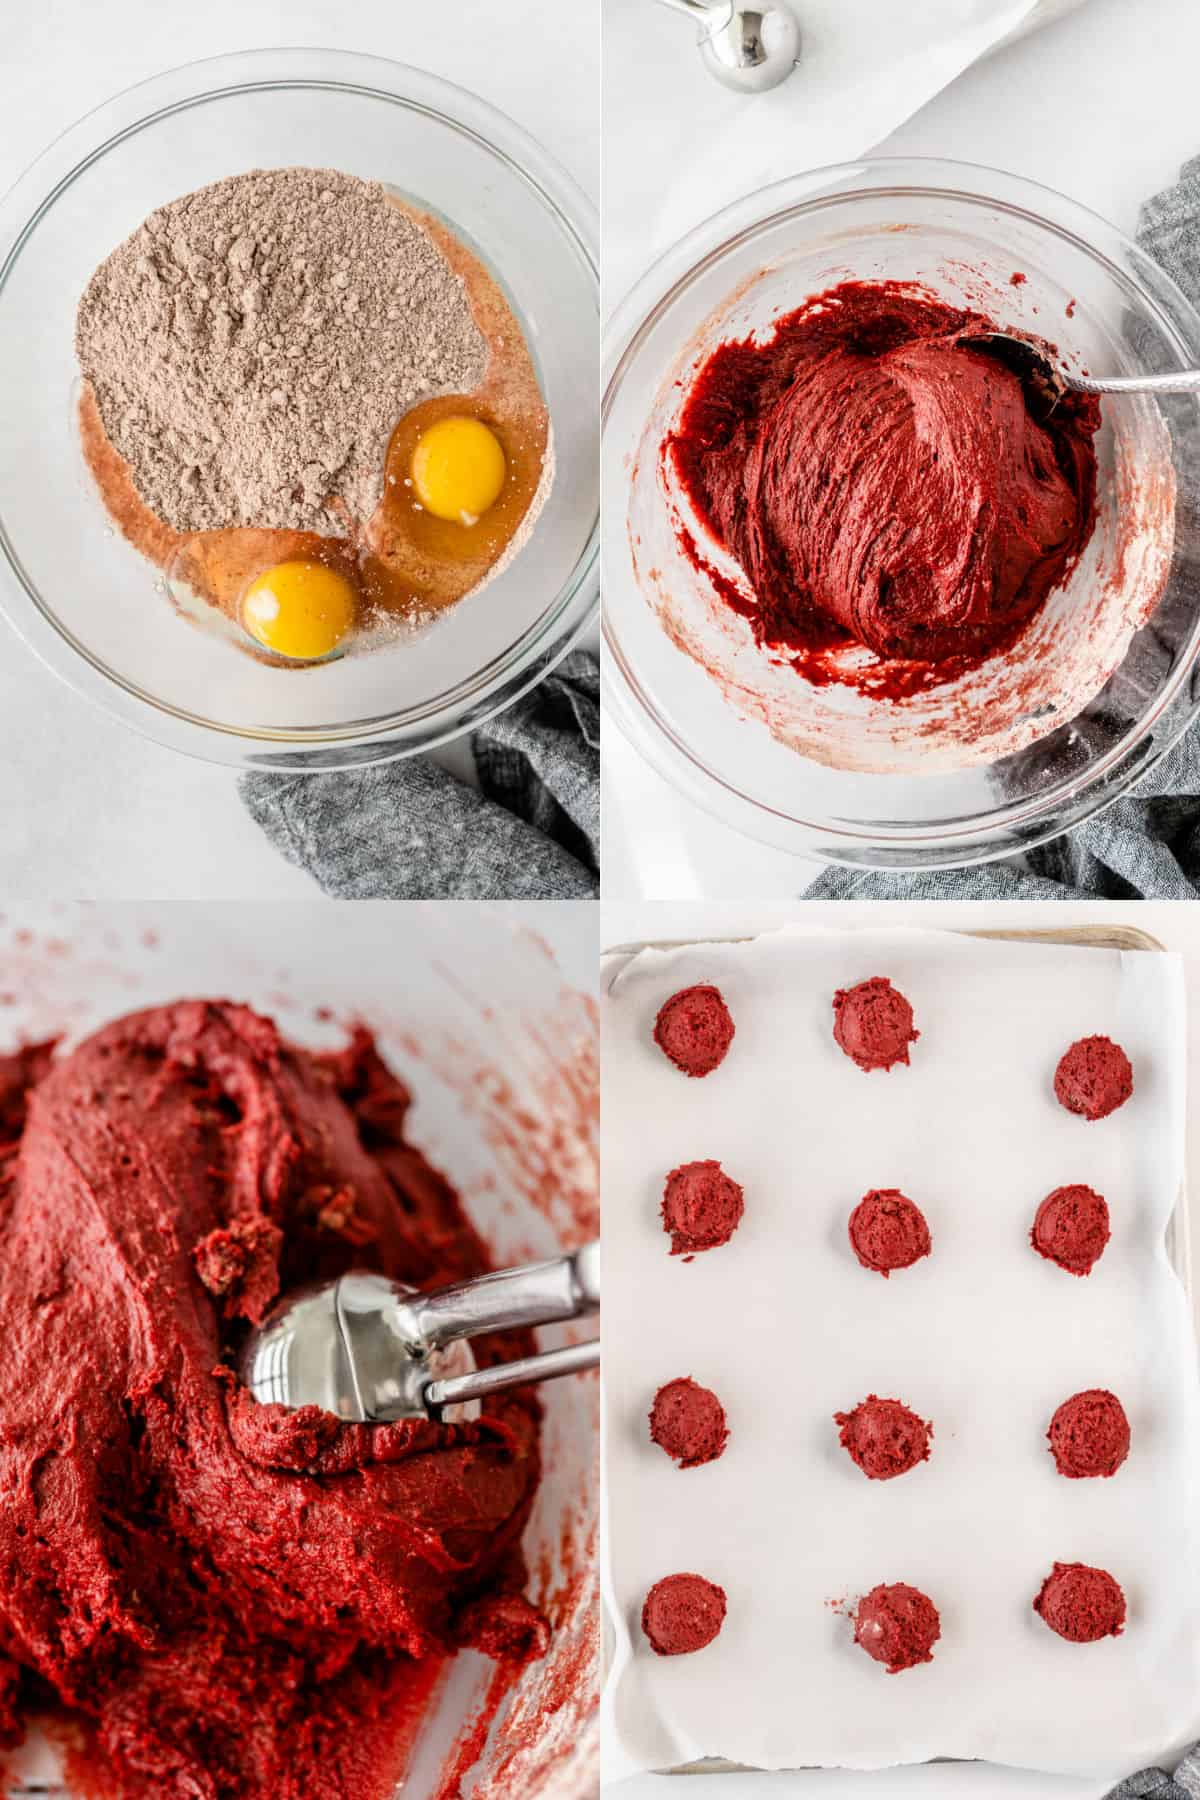
- Now, in a large bowl, combine the red velvet cake mix (the only dry ingredient!), melted butter, and eggs and mix until smooth.
- Use a cookie scoop (the greatest baking invention EVER) to portion dough into 1-inch balls. Place your red velvet cookie dough balls onto your prepared baking sheets several inches apart. (These cookies spread a LOT, if they're not spaced out you'll end up with a sheet pan shaped cookie).
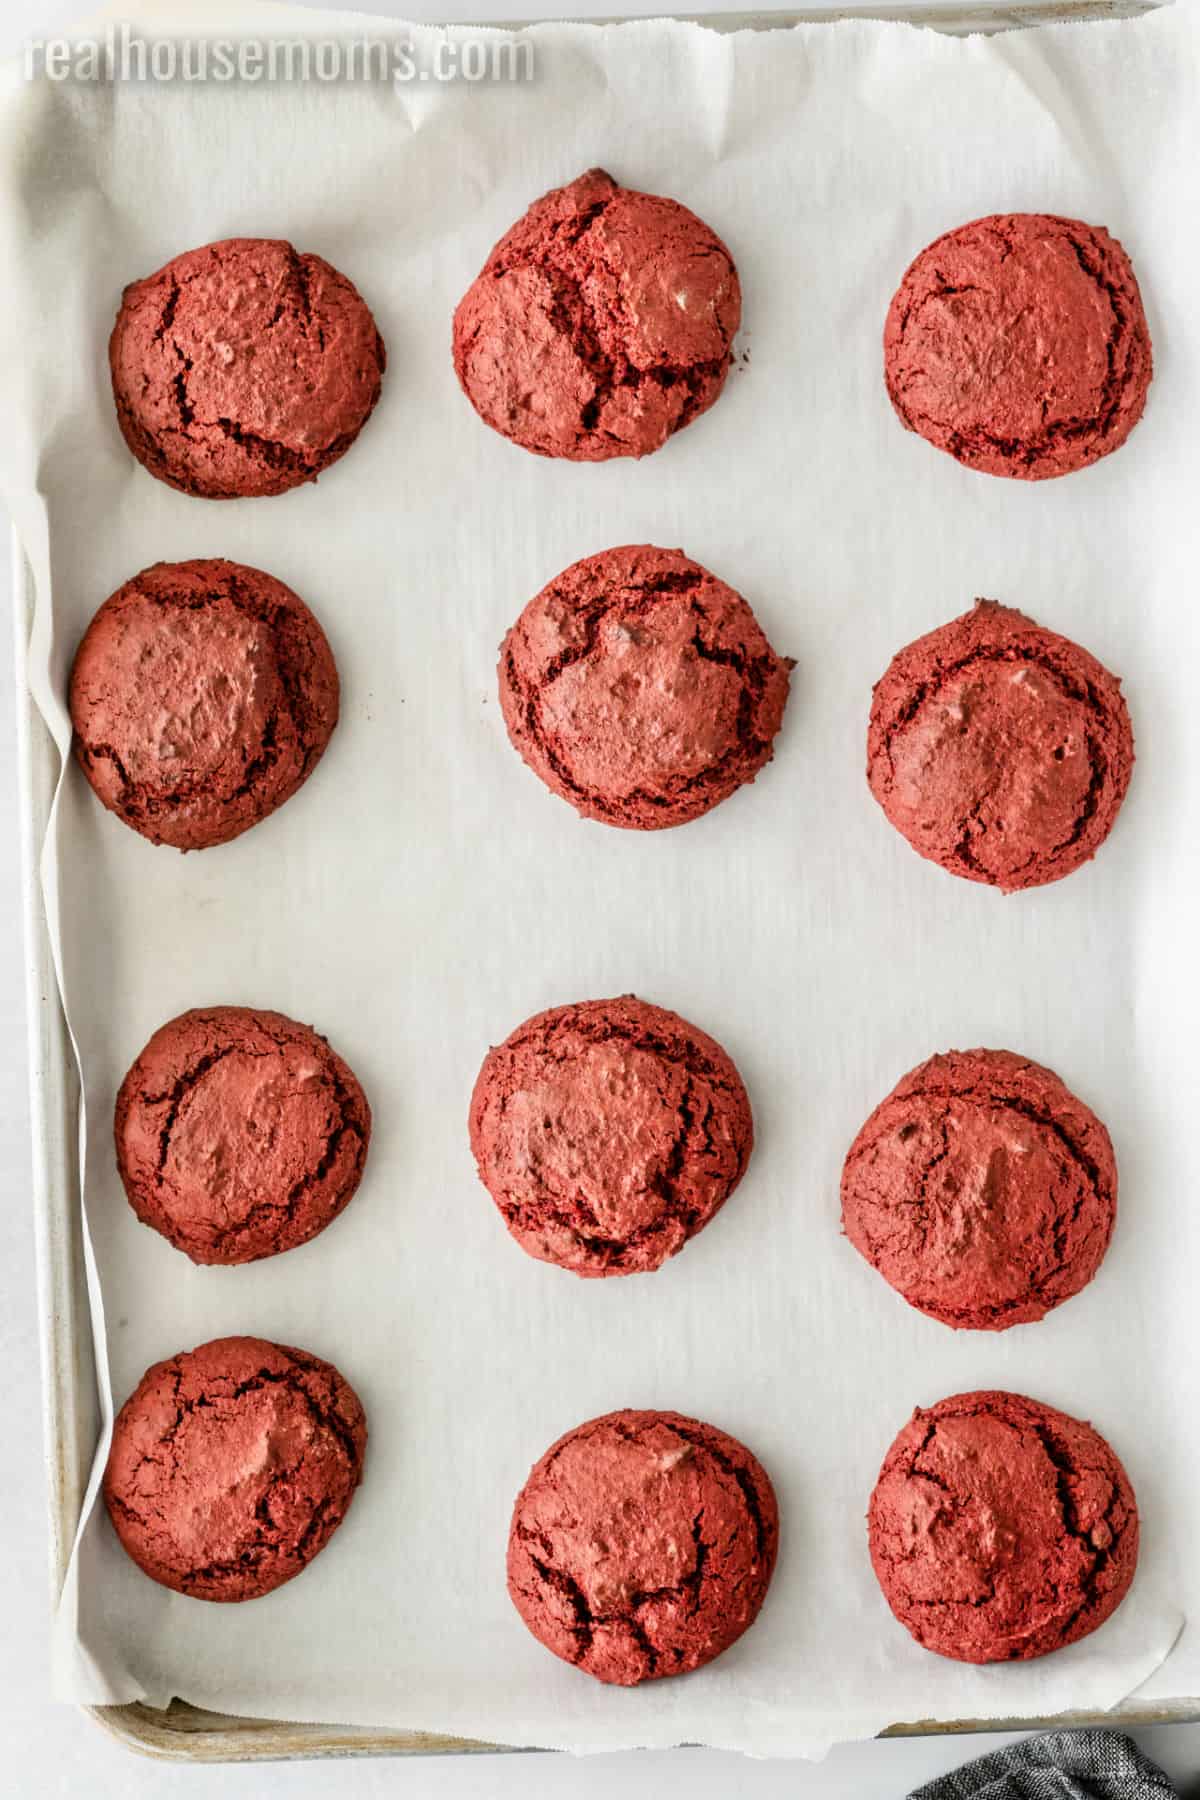
- Next, bake your cookies for 9-11 minutes or until set. (Cookies will puff up a bit in the oven and flatten as they cool.)
- Remove your cookies from the oven and cool on baking sheets for 2 minutes before transferring to a wire rack to cool completely. These extra 2 minutes on the cookie sheets allow for the edges to continue setting while not over-cooking the insides!
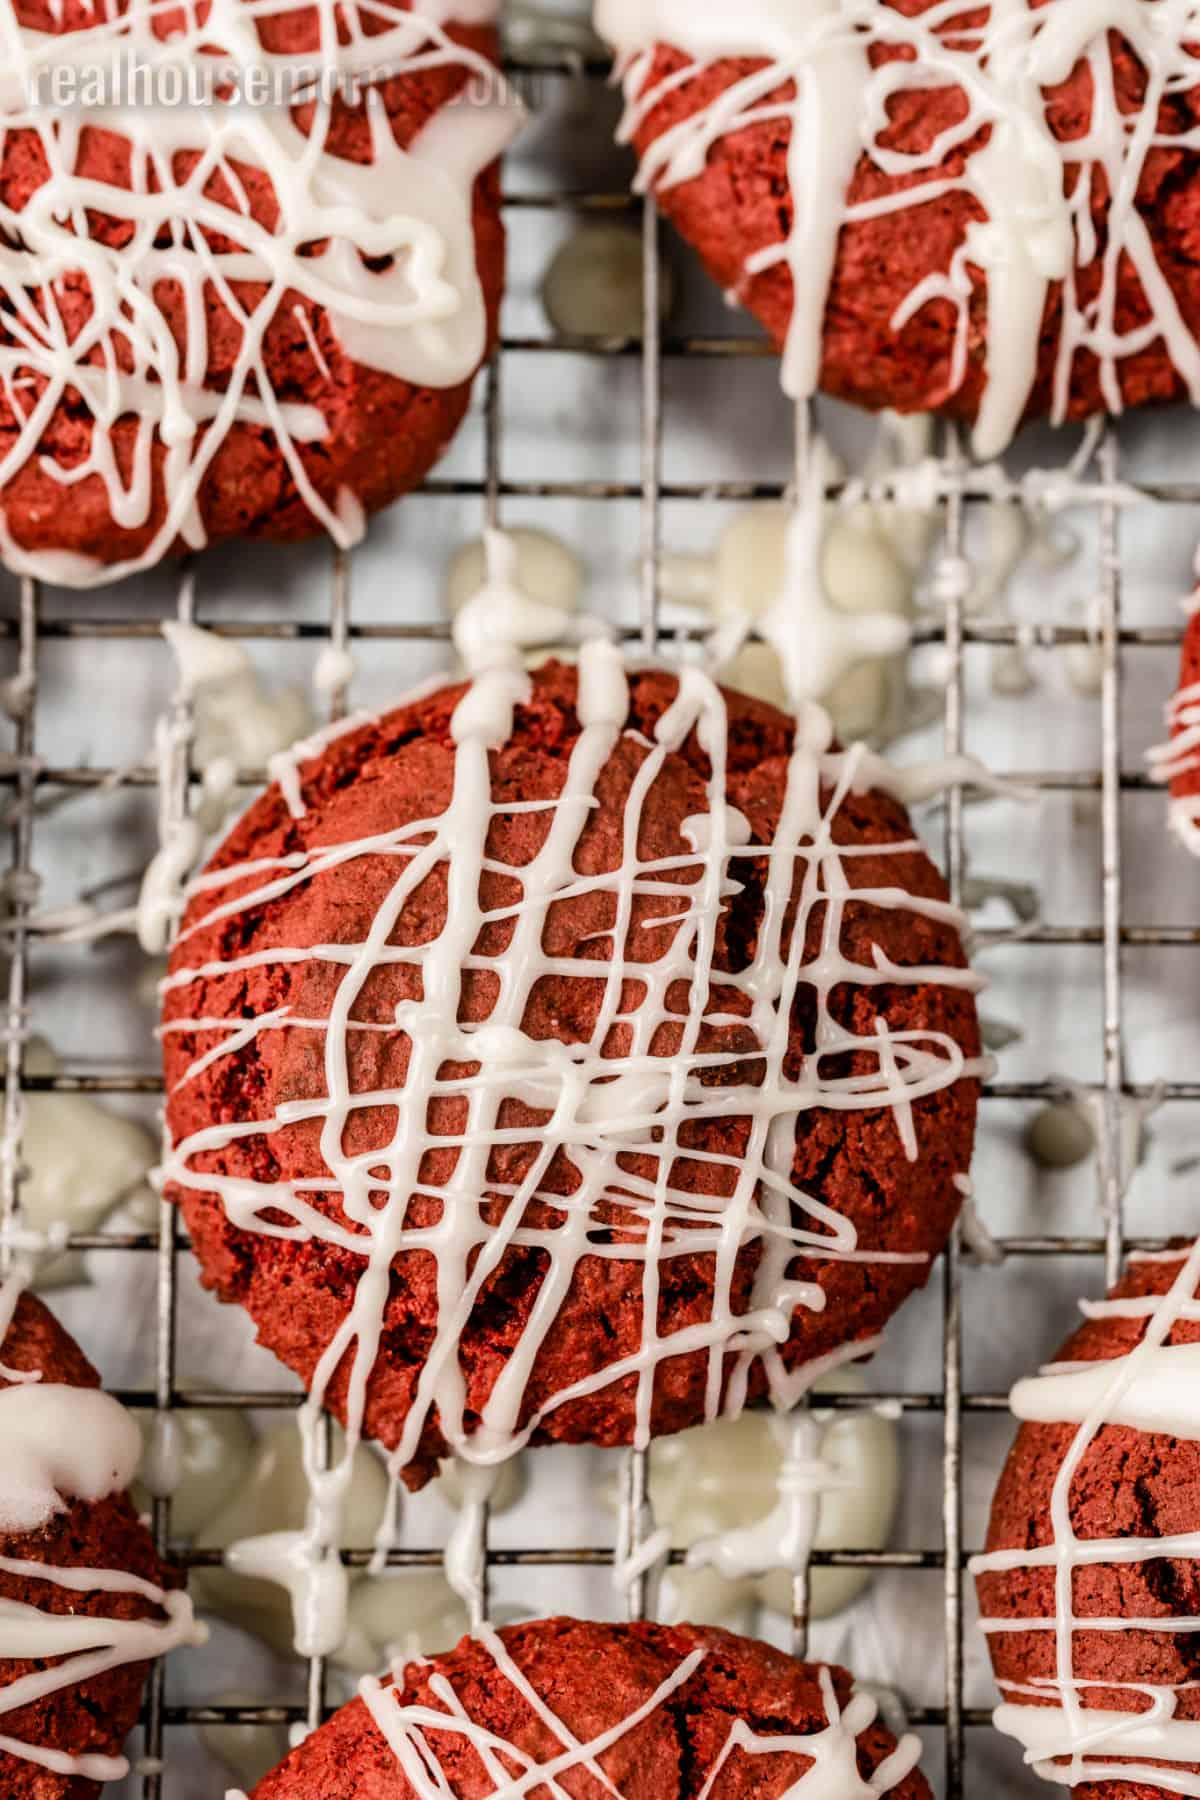
- Now to finish your masterpieces with frosting! Place your cream cheese frosting in a microwave-safe bowl and heat for 30 seconds. Stir frosting and check consistency; the frosting should flow off the spoon easily. If it needs more time, go in shorter increments.
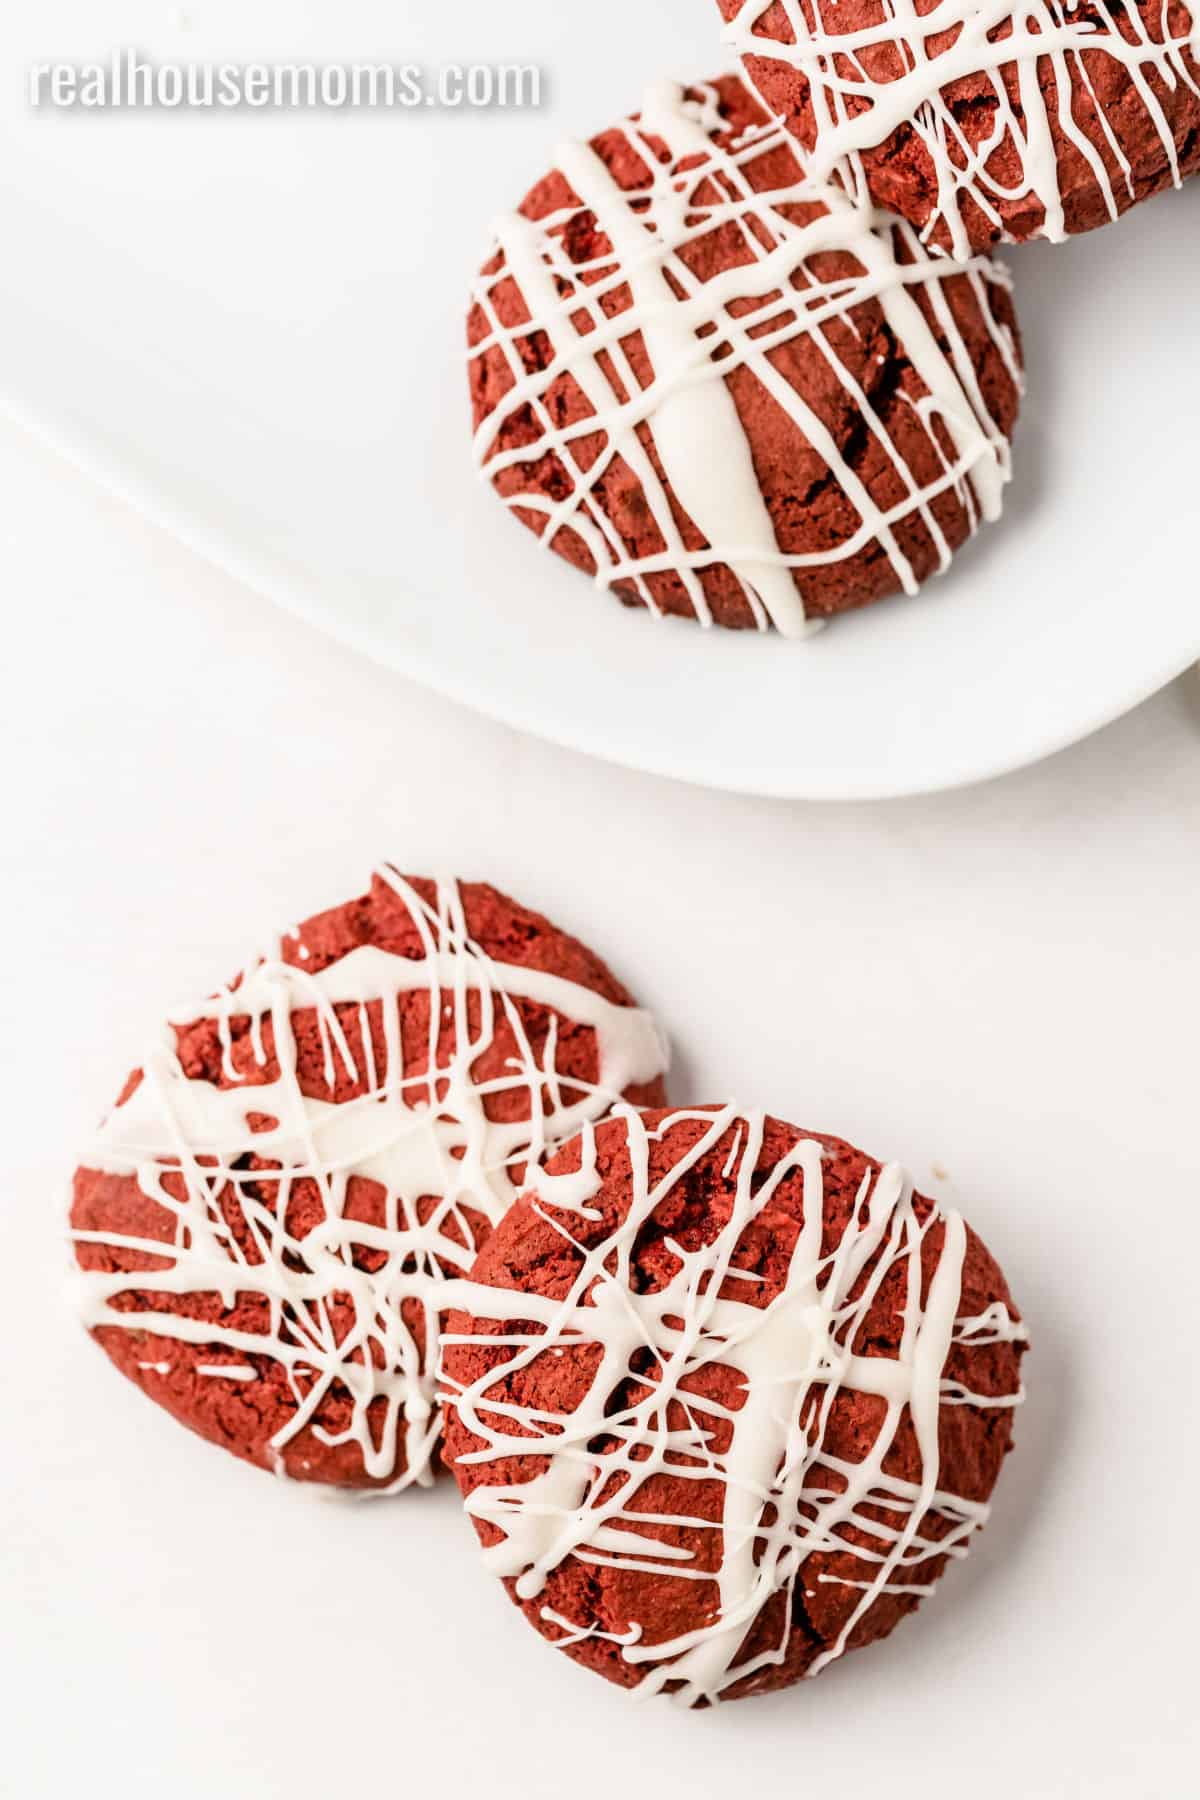
- Drizzle frosting over the cookies (I like to use a criss-cross pattern) while cookies are still on the wire rack (extra frosting will fall through and not stick to the cookies, so you might want to set your wire rack on top of paper towels or parchment paper!) Reheat the frosting as needed to get a good drizzle going.
- Allow frosting to set before transferring to an airtight container to store. The frosting will be soft, but you can harden it up by placing the cookies in the fridge.
If you prefer white chocolate to cream cheese, you could melt some white chocolate chips and a little vegetable oil and drizzle that over your cookies instead.
Looking for some more Holiday inspired cookies?
- White Chocolate Cherry Pudding Cookies
- Chocolate Peppermint Cookie Sticks
- Christmas Crack
- Cake Mix Snickerdoodle Cookies
- Spritz Cookies
- Gingersnap Cheesecake Bars
- more DESSERT recipes…
Tools used to make this Red Velvet Cookies recipe
Stand Mixer: I don't know what I'd do without my stand mixer. I use it for just about everything…and I mean everything! Cakes, cookies, mashed potatoes, and shredding chicken!
Baking Sheet: A nice big baking sheet is a must-have for any kitchen. This half pan sheet is large than a regular cookie and works great for anything you're baking.
Cookie Scoop: Cookie scoops are my favorite way to portion dough and batter when I'm baking. This set has 3 different sizes so I get the right amount in each scoop.
*This post originally posted on 12/08/2014.
Red Velvet Cookies
If you like red velvet cake, you'll LOVE these Red Velvet Cookies! They're so good you'll want to make a batch every day until Christmas!
Prep Time: 5 minutes
Cook Time: 11 minutes
Total Time: 16 minutes
Course: Dessert
Cuisine: American
Keyword: red velvet cookies
Servings: 24 cookies
Calories: 156 kcal
- 15.25 ounces red velvet cake mix (1 box)
- 6 tablespoons unsalted butter melted
- 2 eggs
- 1 cup cream cheese frosting homemade or store-bought
-
Preheat oven to 375 degrees F. Line 2 baking sheets with silicone baking mats or parchment paper.
-
In a large bowl, combine cake mix, melted butter, and eggs until smooth.
-
Use a cookie scoop to portion dough into 1-inch balls and place on your prepared baking sheets several inches apart. (These cookies spread a lot.)
-
Bake for 9-11 minutes or until set. (Cookies will puff up a bit in the oven and flatten as they cool.)
-
Remove from oven and cool on baking sheets for 2 minutes before transferring to a wire rack to cool completely.
-
Place frosting in a microwave-safe bowl and heat for 30 seconds. Stir frosting and check consistency; the frosting should flow off the spoon easily.
-
Drizzle frosting over the cookies (I like to use a criss-cross pattern) while cookies are still on the wire rack. (Extra frosting will fall through and not stick to the cookies.) Reheat the frosting as needed to get a good drizzle going.
-
Allow frosting to set before transfer to an airtight container to store. The frosting will be soft, but you can harden it up by placing the cookies in the fridge.
Calories: 156 kcal | Carbohydrates: 24 g | Protein: 1 g | Fat: 6 g | Saturated Fat: 3 g | Cholesterol: 21 mg | Sodium: 183 mg | Potassium: 39 mg | Fiber: 1 g | Sugar: 17 g | Vitamin A: 107 IU | Calcium: 3 mg | Iron: 1 mg
Snap a pic and upload to your pin and let me know what you thought!
5 Time Saving Secrets
How to Get Dinner on the Table...FAST
SUCCESS! Watch your inbox for your free guide.
Recipe for Red Velvet Cookies With Cream Cheese Frosting
Source: https://realhousemoms.com/red-velvet-cookies/